


January holidays are the ideal time to do all the things you’ve wanted to do for a long time but haven’t had the time. Especially if you chose to be happy and stay home for a long weekend. For example, read your favorite book, finish watching a TV series, or browse through your clothes and cosmetics. As true beautyaholics, we recommend you do the last thing: organize the items in your makeup bag. Below we have prepared detailed instructions for you on the most convenient way to do this.
Step 1. Prepare the place
Find a comfortable, spacious and well-lit place to store all your beauty products. When choosing a place, take into account the amount of cosmetics and be prepared to divide the space into several parts. A table (or two) works well for this.
Step 2. Determine the required time
In order not to rush anywhere, carefully examine each product and at the same time not postpone this pleasure for the whole day, allocate a clear timing for the review. That’s why you need to know when to finish from the very beginning.
Step 3. Collect all cosmetics in one place
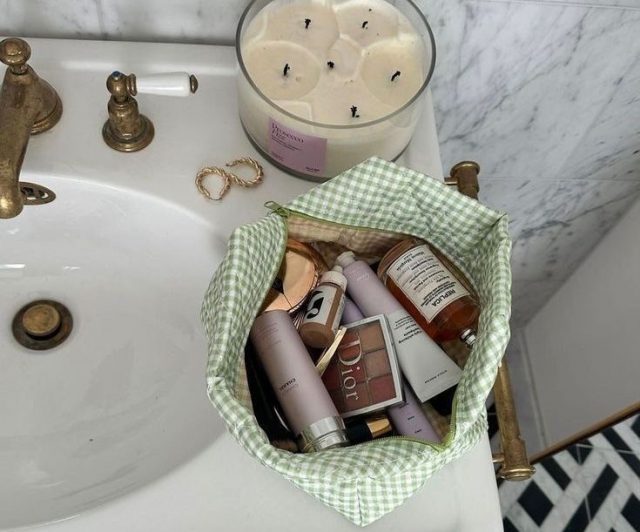
Once the place is ready, you can start removing all existing cosmetics. We recommend that you examine not only your cosmetic bag, but also your bathroom shelf. Place all your cosmetics on the table to see the whole picture.
Step 4. Select categories
The next stage of preparation is to choose several categories in which you will sort cosmetics:
— remove (expired or damaged products);
– leave (items in good condition);
– giving as a gift (items that you do not use but are in good condition).
Step 5: Check expiration dates
Examine each product carefully and check the expiration date. Note that there are two expiration dates, before and after opening. You need to look at the latter, it is usually indicated on the product itself (these are the numbers next to the icon of a jar with an open lid – 6M, 12M). The actual expiration date should be counted from the opening date, not the production date. And right now you need to strain your memory and remember when you discovered this or that remedy. Place all expired products in the “Remove” category. By the way, we wrote here in detail how to understand when it is time to throw away cosmetics.
Step 6. Evaluate the condition of the products
Just because a product hasn’t expired doesn’t mean it can be left behind. The next step is to check for any discoloration, odor or any external damage. If a product looks or smells suspicious, it’s best to put it in the “Remove” category.
Step 7: Collect the products you don’t use.
Divide products with a good shelf life into two categories: Those you will use and those you will not use. The latter can be presented to friends and family, sold, or donated to charity. We wrote in more detail here what to do with the products you don’t use.
Step 8. Organize your cosmetics
The next important step is to ensure proper positioning of cosmetics. Not only in the cosmetic bag, but also on the shelf. You can use dividers, containers and organizers to do this.
Step 9. Create a list of required purchases

After some expired items go to the trash, there may be something missing. Carefully examine the remaining funds and highlight the positions that are currently missing.
Step 10. Review regularly
The most important advice is to analyze your cosmetics regularly. This can be done every 3-6 months. If you maintain order and watch expiration dates, this routine won’t take much time. Your makeup bag and shelves will always remain clean.
Source: People Talk
I’m Roger Gritton, and I’ve been writing for the The Fashion Vibes for over 5 years now. My specialty is beauty news; I’m passionate about covering the latest trends, products, and innovations in the industry. In my time there, I’ve become known as an authority on all things beauty-related.
I love discovering new experts to interview, researching up-and-coming ingredients and techniques that are making their way onto our beauty shelves and highlighting people who are making a difference in the world of cosmetics. My work has appeared not only on The Fashion Vibes, but also several other publications including the New York Times Magazine, Allure Magazine and Refinery29.


