


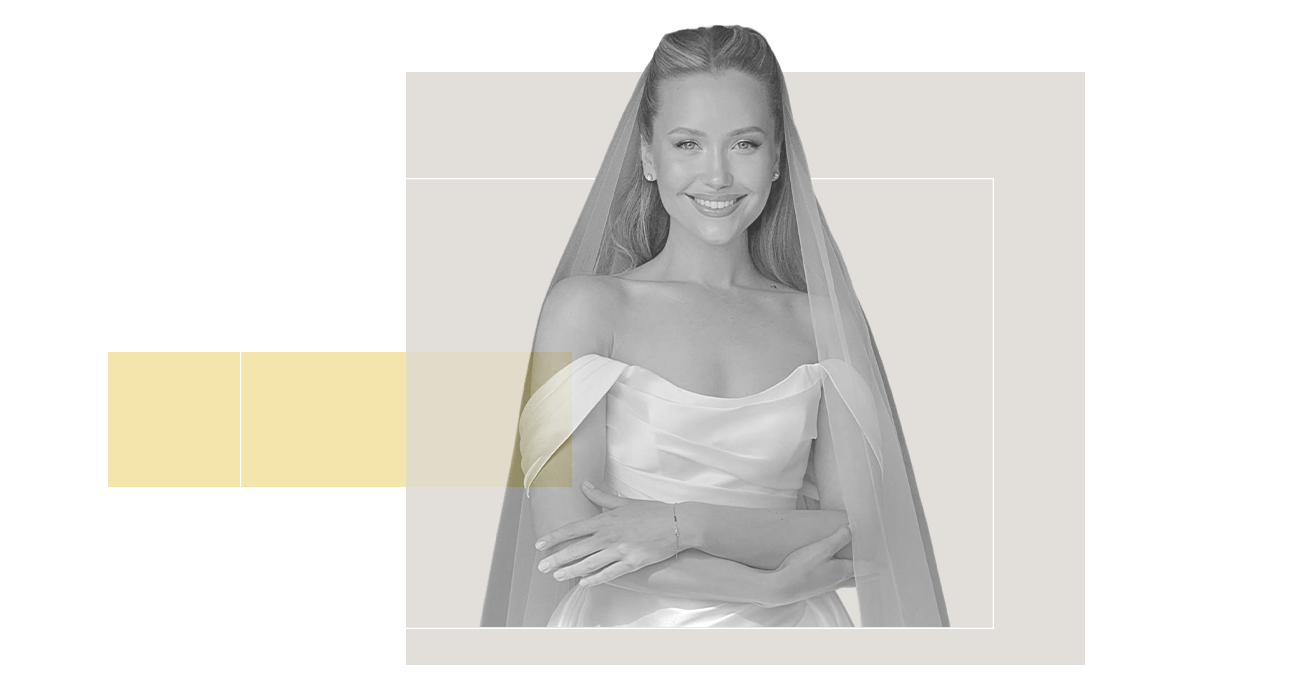
For us, makeup is not only the usual beauty struggle, but also the opportunity to look at yourself differently, try new images and emphasize your uniqueness.
We offer you the columnist Olga Romanov! Olga is a star makeup artist and the creator of Romanovamakeup cosmetics brand. For the last time, he talked about the most popular mistakes in the application of dust. And today he will share the main tips to make a wedding makeup perfect.

Olga Romanova
Today, the most important thing I want to wish to wish is to feel as calm and comfortable as possible. So I do not recommend any experiment about makeup. Any unusual image may start annoying in a second and the mood will be reversible. Therefore, if you do a make -up for yourself, it is better to rehearse in advance! However, I think it would be right to simply emphasize honor and individuality.
Bare lips
Why don’t I recommend that you apply bright lipstick tones today? Yes, because it is quite difficult to imagine a traditional wedding without screaming “bitter”. It is better to pay attention to sensitive neutral colors. Ideally, apply a permanent shine or color tone to the lips. Previously, it would be good to emphasize the contour with a pen: draw a line towards the environment, smiling and going a little beyond the contour. And then shake the whole surface to them. In such a simple way, you can significantly increase lipstick or brightness resistance.
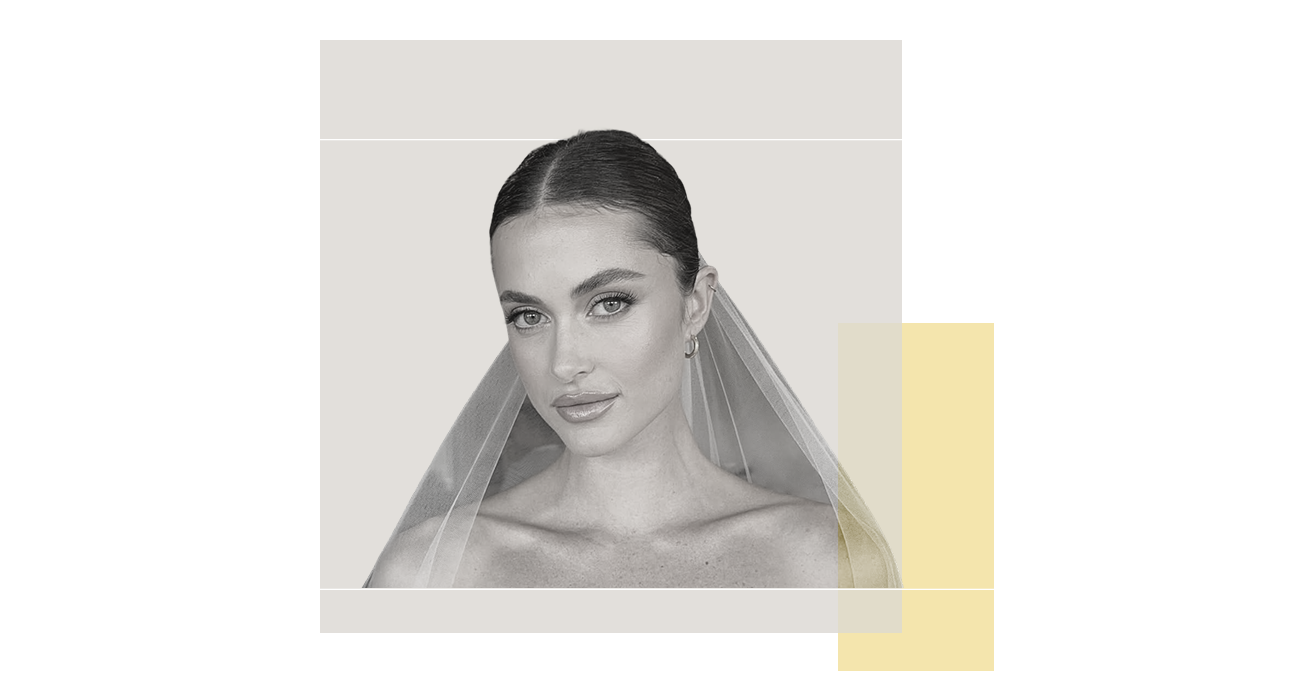
Glue in the eyes
Very refreshing, elegant and organic for celebration, metal tones, well -painted eyelashes, without a clear contour, crushed velvet lips on the eyelids. First, it should be applied to the entire mobile eyelid by applying it with its fingertips (so we will increase the resistance). Select sensitive brightness products, not large sparks. Second, it may seem a little red in the photo. The Win -win technique is to emphasize the pencil of a light metal shade in the inner corner of the eye and also emphasize the mucous membrane.
Bright skin
This is a necessary foundation, regardless of which makeup you choose. Therefore, the most important thing for beginners is to eliminate traces of fatigue using a plastic corrector that will not allow the instrument to turn into wrinkles. Also, even if you don’t plan to use them, I definitely recommend that you apply the base under the shadow to the upper eyelid. This is very refreshing your eyes!
Remember the dust: get as light as possible, weighted with the smallest reflective particles. I’ve already mentioned it, but I repeat it once again: carefully, use examples that provide HD effect. These white, translucent dusts may never look at the photo as we want. Therefore, if you really want to apply it, be sure to take a picture of a flash.
You can add freshness using pale pink or peach tones blush. In this case, the tissue does not play less role than color, so choose a cream that tends to absorb instantly. I even say – eating with skin. So, if you want, it will be easier to correct makeup, it will be simple, without fear that the effect will be natural. Remember Radiance: Dust or cream will help us. In the meantime, use the latter for the body: Mix your favorite lotion to one to two and apply to all open spaces. In the photo, an expensive wet skin brightness will be guaranteed.
Whisking eyelashes
The history of the Romanovamakeup brand began with the launch of firelalls. Now their use is not the most popular trend on daily basis. Because we all strive for maximum naturalness. However, in special cases, you cannot do it without them. Volumetric eyelashes add touch and tenderness to the image. And that’s what we do!
Let me remind you that it is both band and beam. What you choose is not fundamentally. The difference will only be in the process of implementing them. In the first case, you cannot miss it with the length of the band. Therefore, you should try them first and then you should only procedure. It is best to start with the lower eyelid: withdraw a few millimeters from the inner corner and stand exactly outside. If you make the line longer, that is, the danger of “lowering the eye.
The second stage is the upper eyelashes. I would like to draw your attention to another important nuance: they need to adhere and then exercise in the mascara, and vice versa with lower things. First make up and paste only then. As for the beams, after applying mascara, not volume, they need to be glued with focus on the outer corner.
Source: People Talk
I’m Roger Gritton, and I’ve been writing for the The Fashion Vibes for over 5 years now. My specialty is beauty news; I’m passionate about covering the latest trends, products, and innovations in the industry. In my time there, I’ve become known as an authority on all things beauty-related.
I love discovering new experts to interview, researching up-and-coming ingredients and techniques that are making their way onto our beauty shelves and highlighting people who are making a difference in the world of cosmetics. My work has appeared not only on The Fashion Vibes, but also several other publications including the New York Times Magazine, Allure Magazine and Refinery29.


