


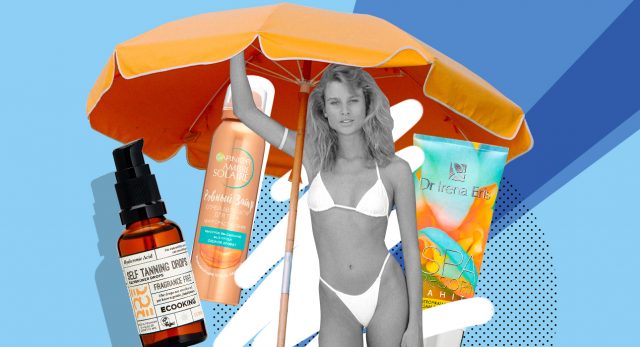
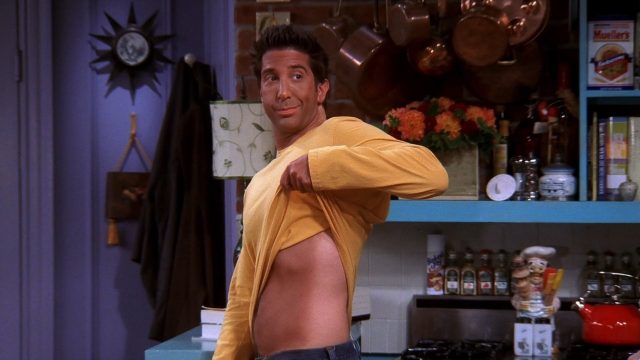
If the mention of self-tanner makes your eyes twitch and shows up in the episode of Friends, where images of bodybuilders with shiny tanned skin or Ross exaggerating with cream, it’s time to fix it. New generation products create a natural toning effect that can hardly be distinguished from a real tan. In addition, there are now different types of self-tanners, among which there are those who can be applied in a matter of minutes and rely on a natural result.
If we still haven’t convinced you, read why tanning products are more beneficial than tanning beds and sunbathing, what newbies should choose, and how to apply the product to make it look good.
Why is an automatic tanner better than a tanning bed and a natural tan?
While the cult of white skin has existed in Asia for centuries, in Europe, on the contrary, a brunette body is a symbol of health and attractiveness. Therefore, tanning salons and instant tanning services are more popular, and products with SPF are less popular. If you understand what a tan really is, it turns out that it has nothing to do with health. This is a protective reaction of the skin to the sun’s rays, as a result of which a dark pigment (melanin) forms in the cells and absorbs ultraviolet radiation, preventing its deepening.
In addition, ultraviolet radiation is the main cause of premature skin aging. Collagen fibers and hyaluronic acid molecules are responsible for its elasticity and moisture. And the ultraviolet effect destroys these substances, thereby reducing turgor and causing the appearance of wrinkles. The only thing that can protect the skin from exposure to ultraviolet rays is a cream with SPF protection. They should be used almost at all times (except on very cloudy winter days), especially in the summer when the sun is most active. But if the desire to be dark-skinned, as if just returned from Tahiti, outweighs, the old bronzer comes to the rescue.
Which one to choose?
Self-tanners differ from each other in texture, color development time and difficulty of application. We’ll go into more detail about each below.
Gel
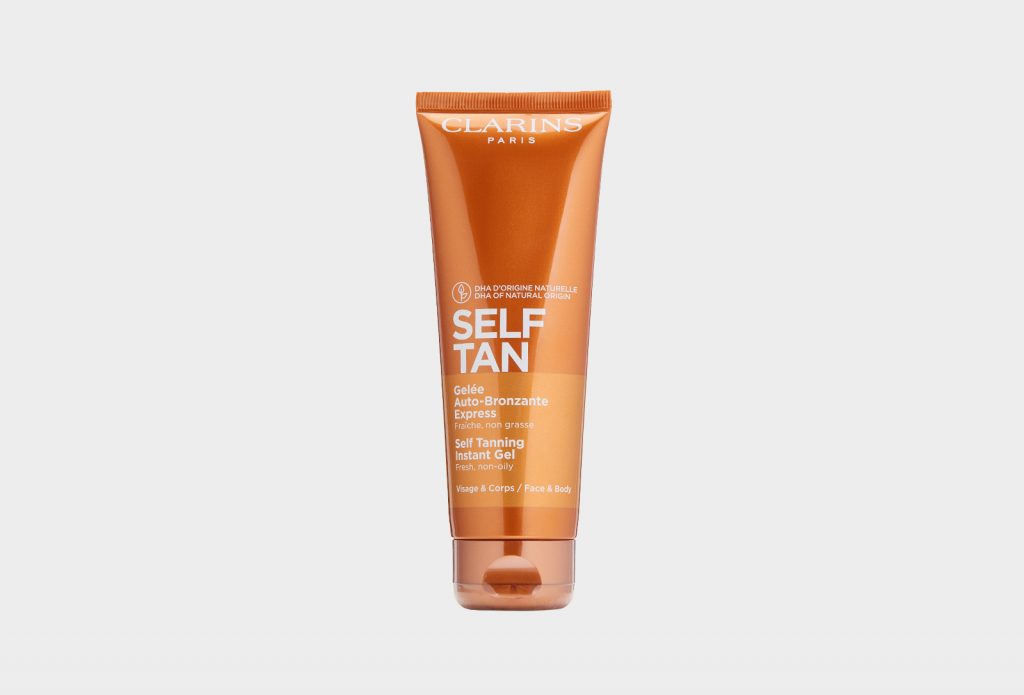
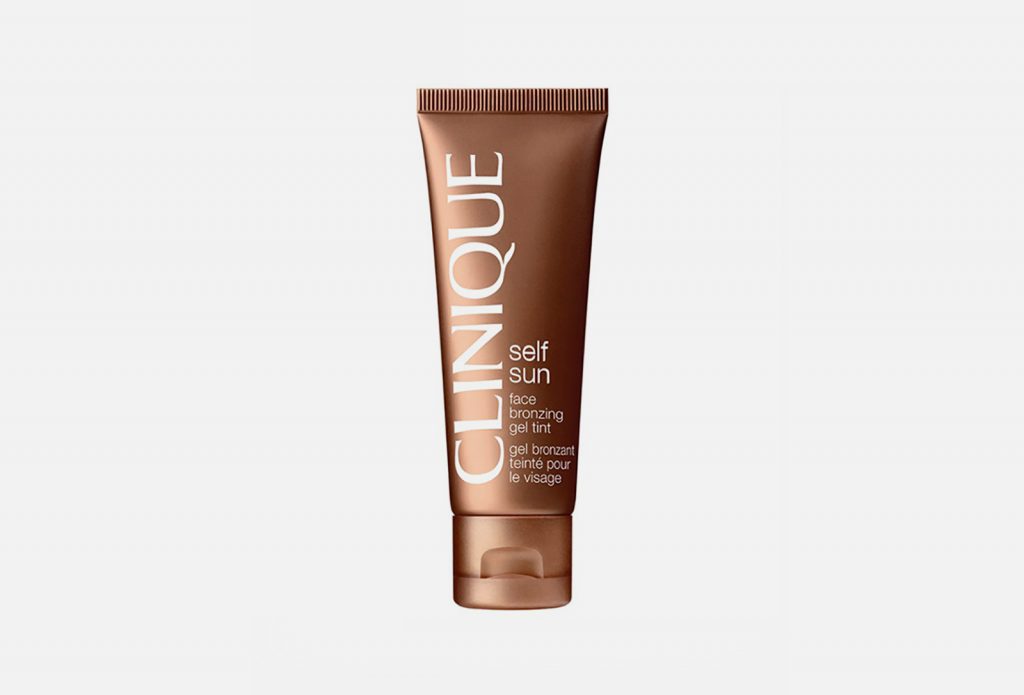
Bronzer in the form of gel is an option for those who do not want to deal with gloves and mittens for a long time. Thanks to its translucent light texture, it is applied evenly to the skin in a thin layer and is quickly absorbed.
Pros:
– effect within 2-3 hours;
– suitable for the face;
– Hue saturation can be controlled with multiple apps.
cons:
– Wash your hands thoroughly after use.
torn
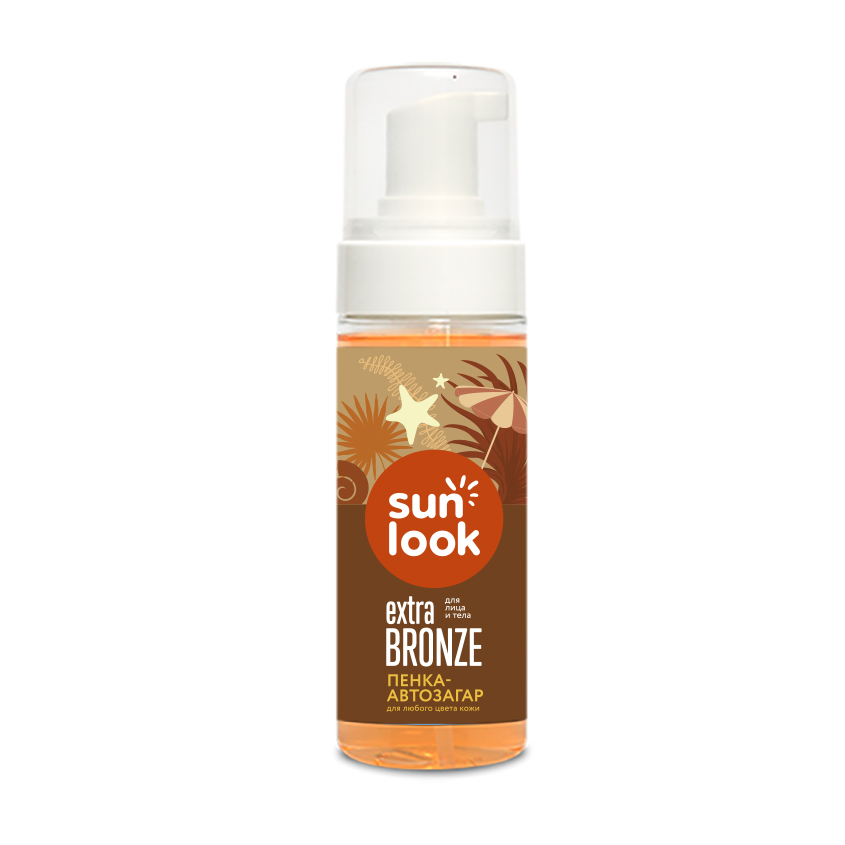
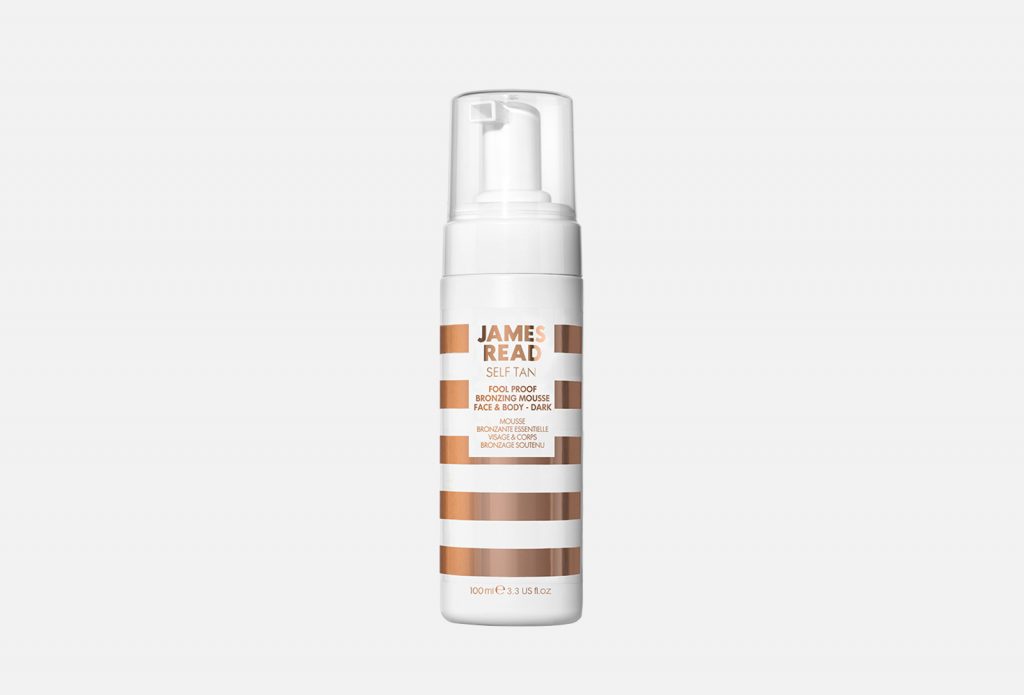
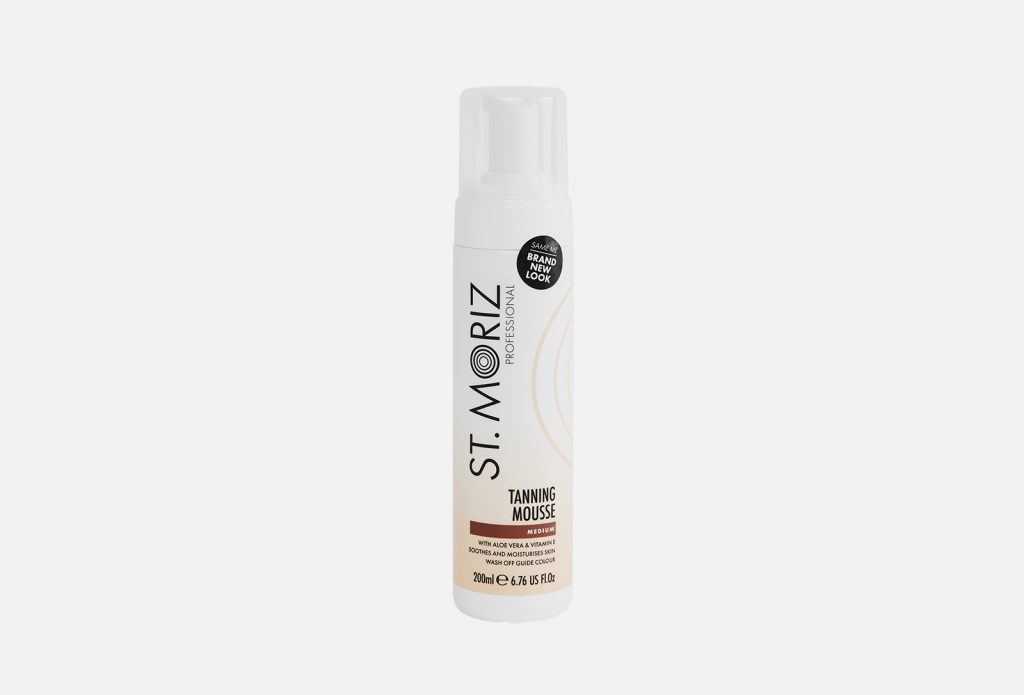
A classic foam with an airy texture is more suitable for advanced users. All you need is a glove and correct application technique (circular stretching movements).
Pros:
– Effect within 6-8 hours.
cons:
– not suitable for the face;
– For application, special gloves are required so that the palms are not stained.
napkins
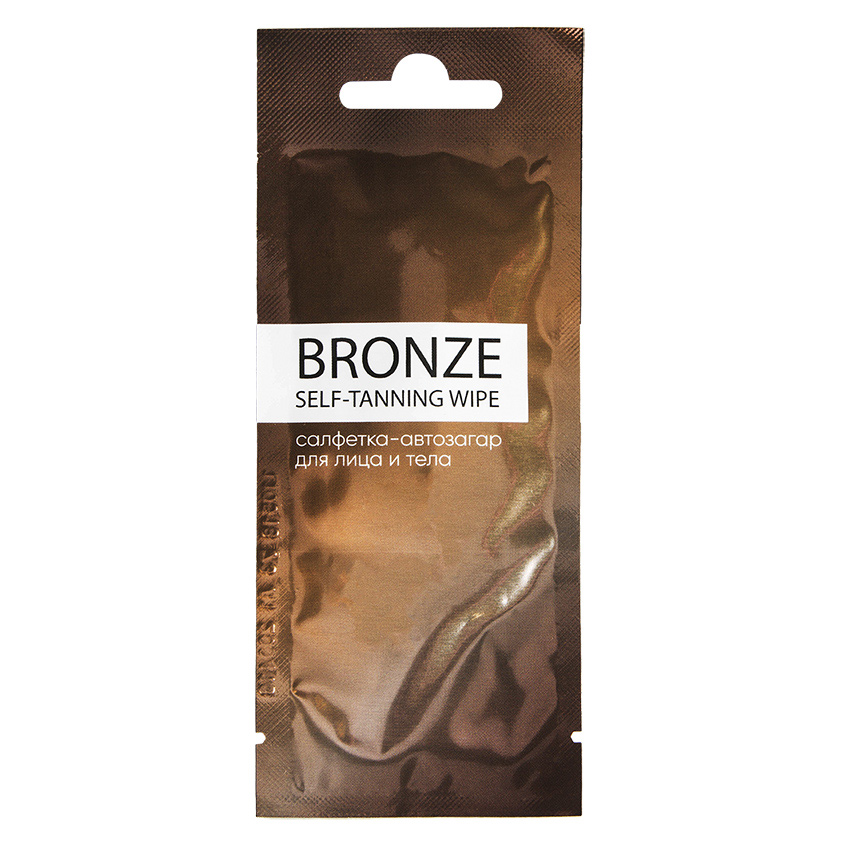
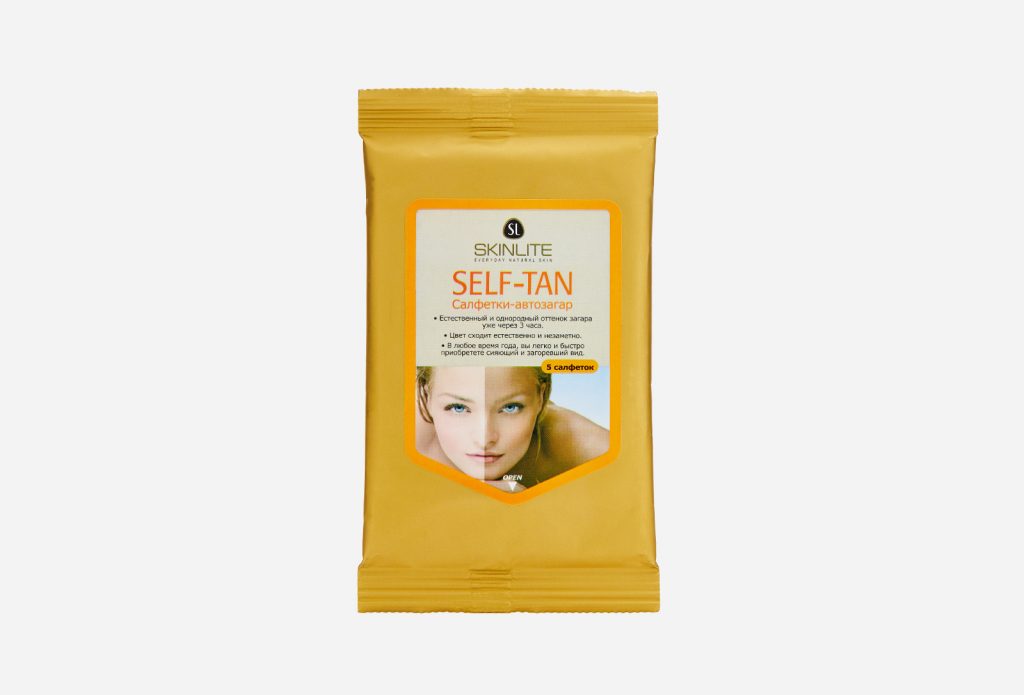
The wipes are convenient to carry in your purse or to take on a trip. It will only take about 4-5 pieces to “tan” the whole body. Therefore, such a product is more suitable for small areas of the skin, such as the face.
Pros:
– small size;
– budgeting;
– Effect within 4 hours.
cons:
– not suitable for large skin areas;
– Wash your hands thoroughly after use.
spray
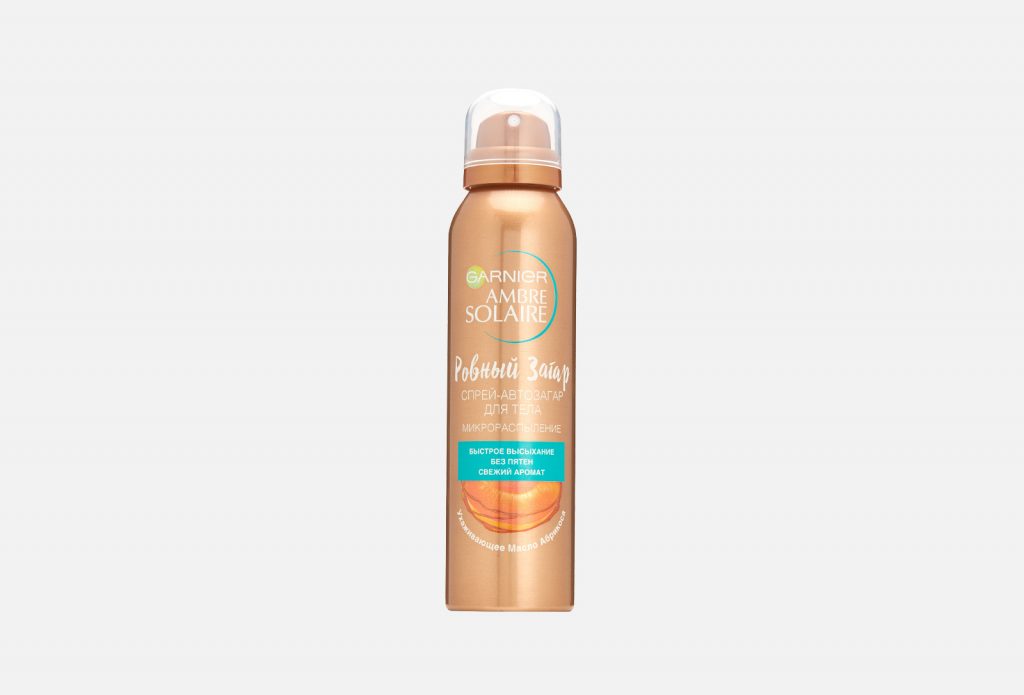
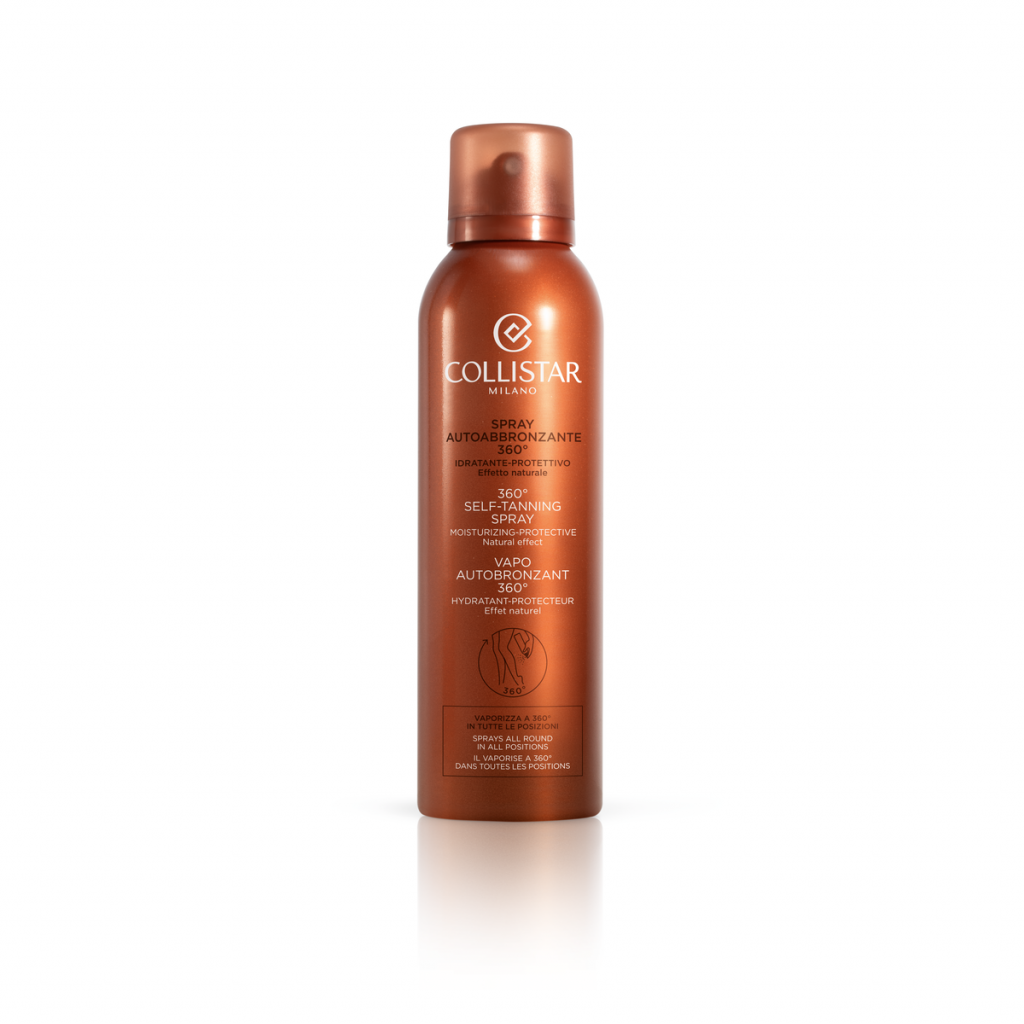
Spray may seem more convenient than mousse or cream, because it is enough just to spray and wait for the desired effect. But after application, it is better to distribute the product with your hands to eliminate streaks and stains.
Pros:
– suitable for the face;
– Effect in 2-3 hours.
cons:
– Special gloves are needed to avoid staining the palms for the application.
Serum or drops
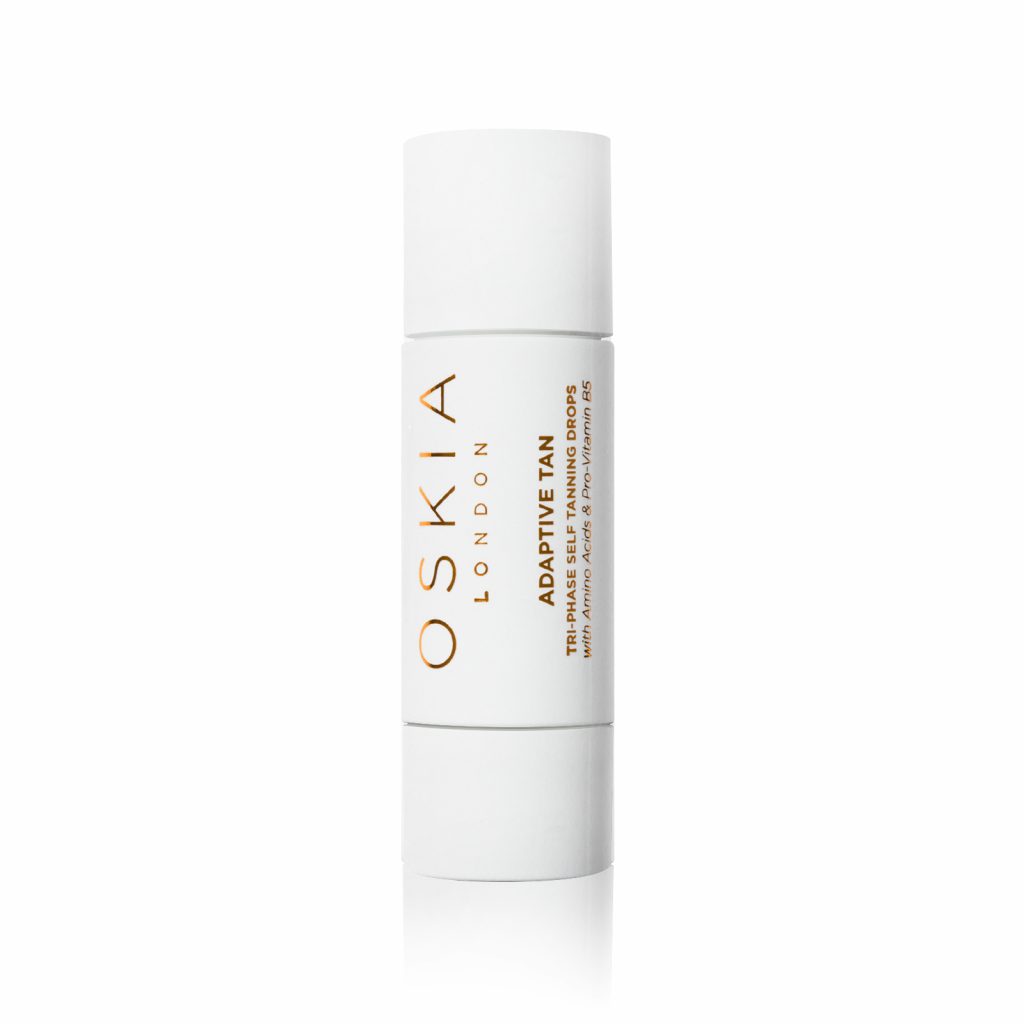
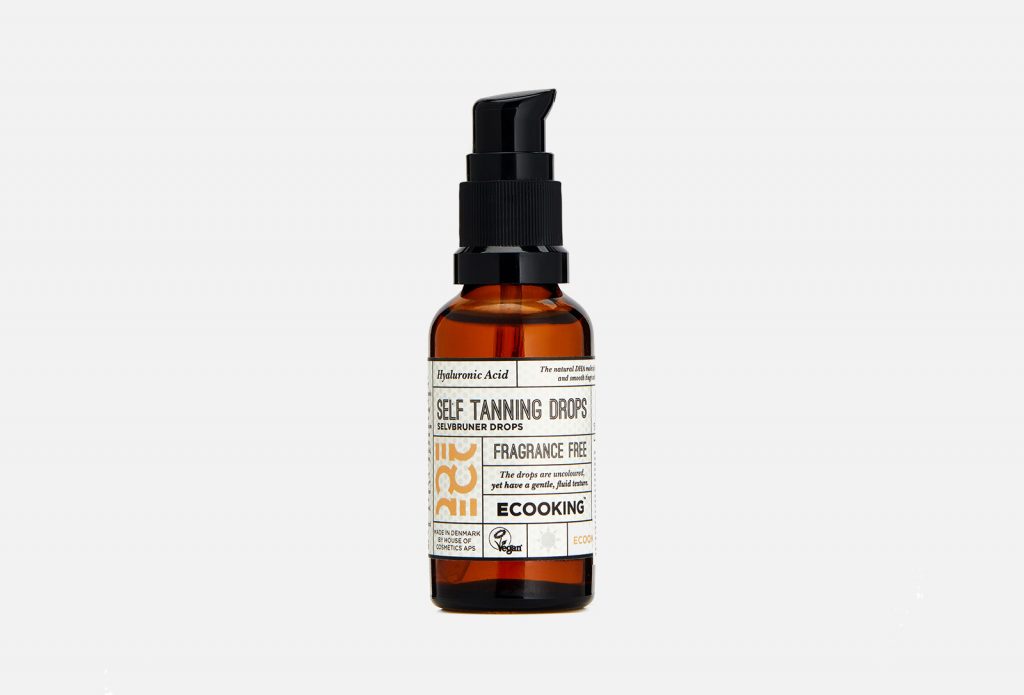
Ideal for beginners and aristocrats with pale skin. To achieve a natural light tan, it is sufficient to mix 2-4 drops of serum and day cream just before application.
Pros:
– natural result;
– suitable for beginners;
– suitable for the face;
– economical consumption.
cons:
– Wash your hands thoroughly after use.
Lotion
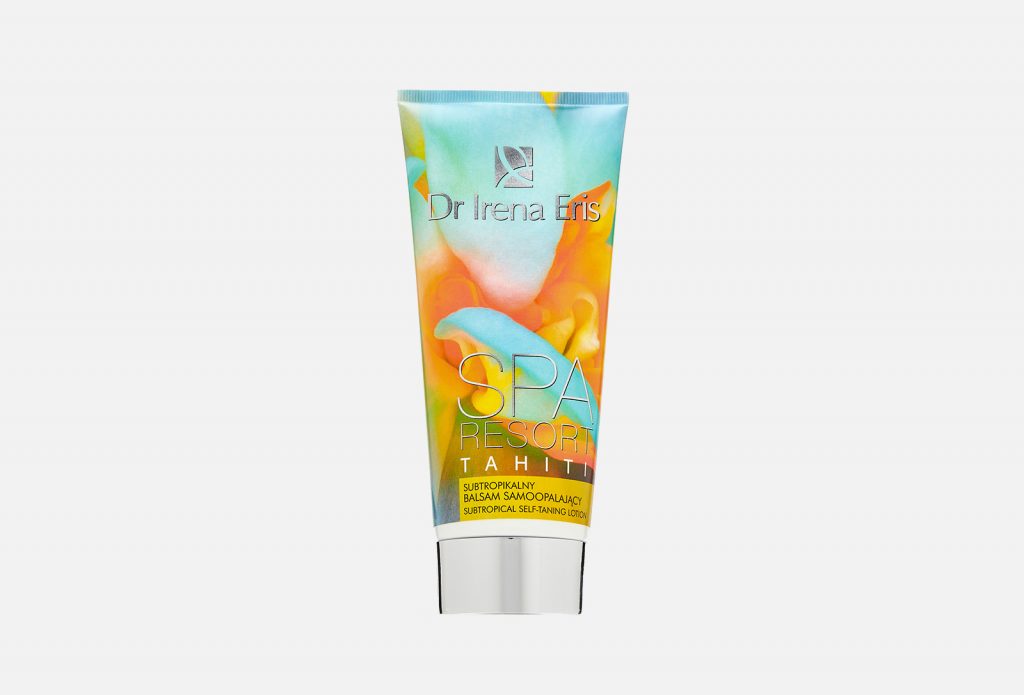
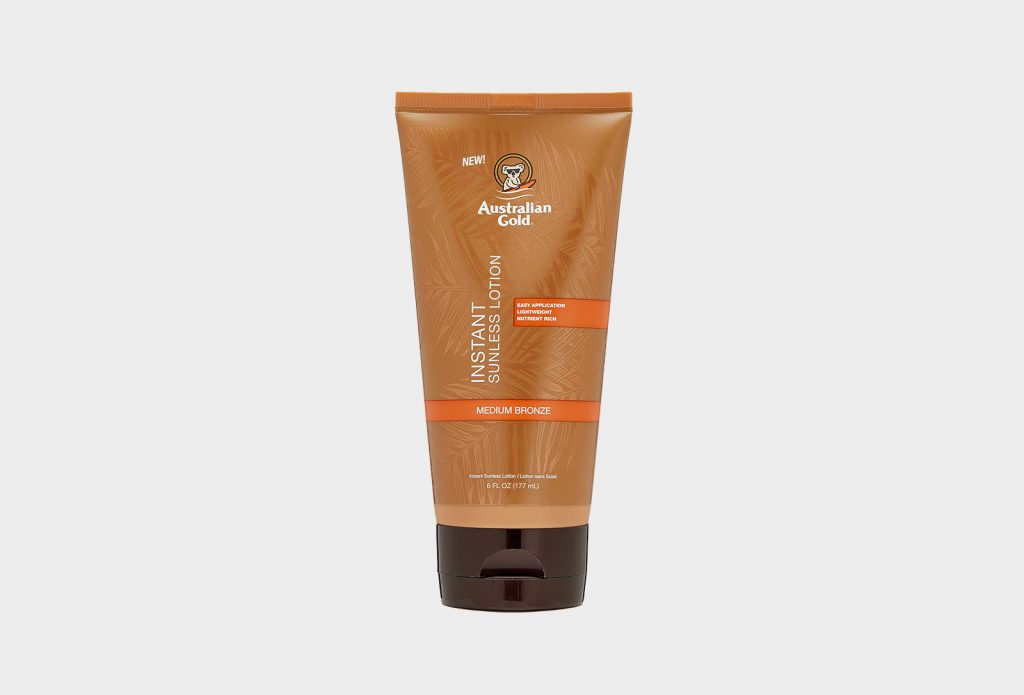
The texture of the lotion is something between gel and cream. This is best for combination skin. Again, you need to apply it with gloves or gloves so that the tan is evenly distributed.
Pros:
– Moisturizes dry skin.
cons:
– not suitable for the face;
– For application, special gloves are required so that the palms are not stained.
We figured out the types, it remains to figure out how to prepare for the procedure to achieve a uniform result.
How to make beautiful?

The first thing to do before applying any type of self-tanner is to thoroughly exfoliate the skin (both face and body). If applying all over the body, pay special attention to areas where the skin is thicker and rougher, such as the knees, elbows, and ankles. It is better to epilate in areas that will “sunk” so that the tool lies more evenly. It is better to carry out the procedure the day before applying self-tanning so that the skin “rests”.
And then follow the instructions:
– Take off your clothes. Not only so as not to stain, but also not to miss a single centimeter of the body. If you are using lotions or foams, wear protective gloves. Apply the self-tanner in a circular motion from the hips to the knees and upper arms to the palms.

– Less is better. Follow this rule, because “not tanning” is better than “tanning again.” If the shade looks washed out on you, the product can always be reapplied for a more saturated color.
– If you use tanning gel, spray or wipes on your face, the skin must be dry for the product to penetrate deeper. Wait 10 minutes until the product is completely absorbed and apply a day cream. With drops and serum, the rules are completely different. On the contrary, they should be mixed with a moisturizer and applied to the face.
– For the first 5 hours, the application areas should not be touched with water. After this time, you can take a shower.
Source: People Talk
Elizabeth Cabrera is an author and journalist who writes for The Fashion Vibes. With a talent for staying up-to-date on the latest news and trends, Elizabeth is dedicated to delivering informative and engaging articles that keep readers informed on the latest developments.

