


After many of us, including your beauty editor, ditched gel polish, salon manicures ceased to be a mandatory part of our beauty routine and were replaced by at-home manicures. Although we have already learned all the moves of the master over the years of applying the coating, it turns out that caring for our nails on our own is much more difficult than we thought. That’s why we decided to turn to experts. We learned what you need to have for a manicure at home and how to do it from IQ Beauty technologist Tamara Isachenko and It-girls studio manicurist Polina Sukhocheva.

Tamara Isachenko, IQ Beauty technologist
What you need to buy for a manicure at home
The list of required tools is as follows:
– an orange stick or pusher to push the cuticle back;
– a thin file to create the shape of the nail, preferably on a wooden base;
– a grinder file to smooth the nail surface;
— a polishing file that gives nails a long-lasting shine;
– pliers to remove pterygium (thin film remaining under the cuticle);
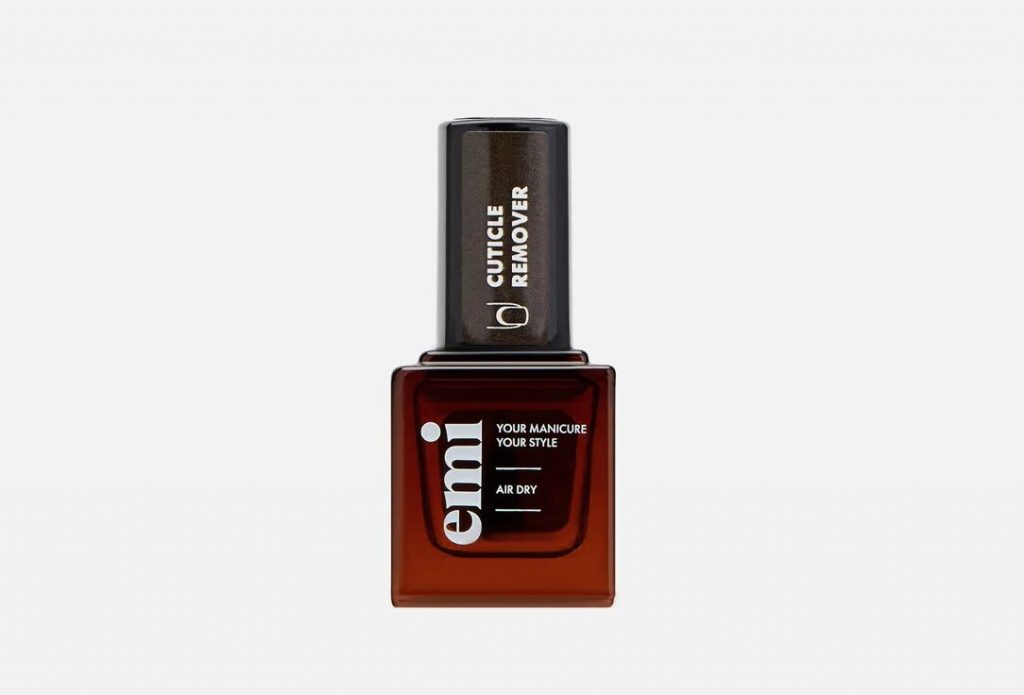
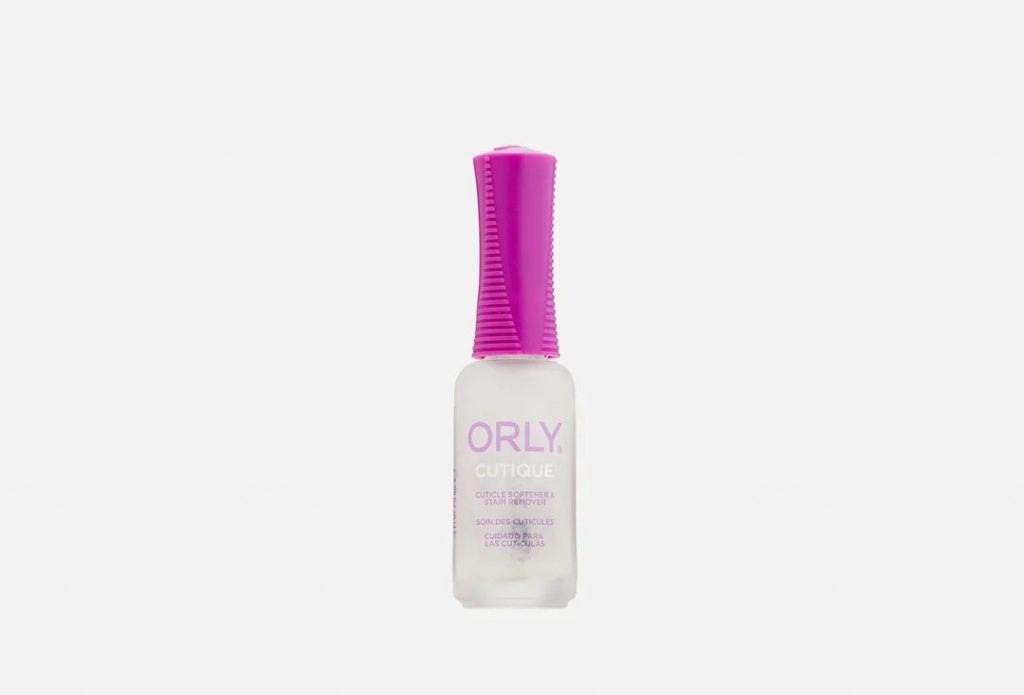
— cuticle remover;
– dryer (degreaser of the nail plate for further application of the coating).
How to do manicure at home?
Let’s look at the stages of the home procedure one by one.
Preparatory phase
Apply antiseptic to your hands. Since there are millions of bacteria and viruses on our skin, it is an integral part of this process. Before you start, you definitely need to protect yourself from various infections.
main stage
Shape your nails with a file. Files have abrasiveness. It is marked with numbers in grits. You can use different options: 180 x 240, 150 x 180, 280 x 600 x 3000 grit. Less than 180 is too rough, and more than 220 is already grinding. Read below for details on how to create the form.
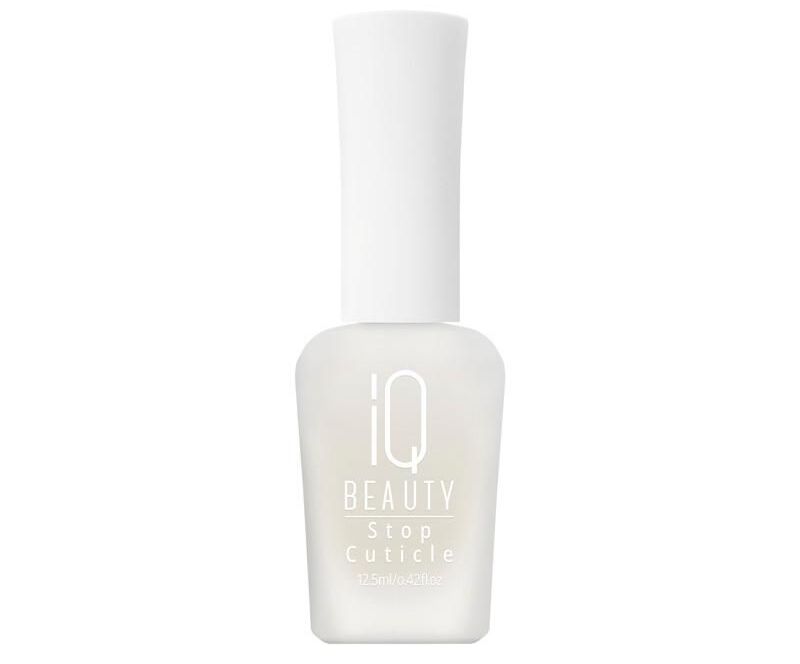
Treat cuticle and side protrusions. Use products that soften the skin and pterygium. These are mainly called removers and have different compositions. The most effective are those based on alkali (they need to be washed off with water after the procedure) or those containing an AHA acid complex (their only drawback is that they do not dissolve dead cells so thoroughly and do not cope well with the complex, rough cuticles). Apply the remover to the cuticle with a brush and, after dissolving keratinized skin particles and pterygium, push the cuticle and pterygium upwards with an orange stick (pusher). Clean the remaining pterygium on the side and rinse your hands thoroughly under water. The same can be done for the side rollers. Apply the preparation to them, take a file and remove the rough skin with up and down movements, placing the abrasive on the side roller.
Sand and polish your nails. If your nail plate is uneven, use a sanding file and smooth it by going over the top of the nail. Then use a polish file to polish your nails until they shine.
Final scene
If you apply coating, you do not need to polish your nails until they shine.
How to apply varnish correctly?
— After completing the preliminary manicure, apply a dryer to the nail. If you don’t have any, use non-acetone nail polish remover.
— Apply the first coat of varnish very thinly, from little finger to little finger. Let it dry for 60 seconds.
— We apply the second layer thinly and let it dry for 60 seconds. Once dry, apply top coat.
— The time required for all layers to dry completely is between 10 and 15 minutes.
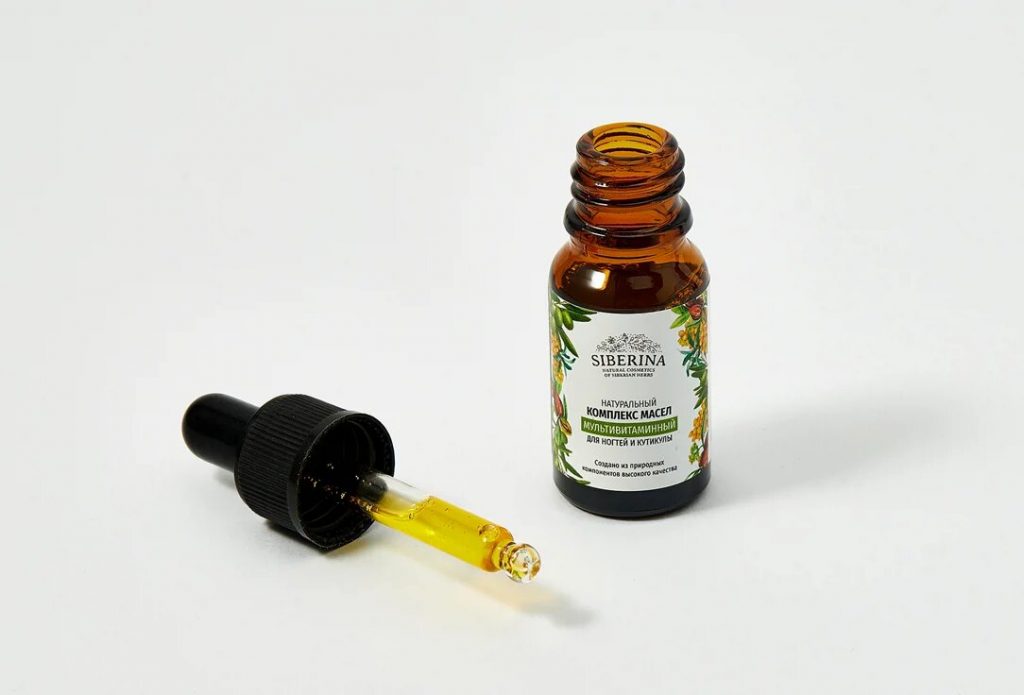
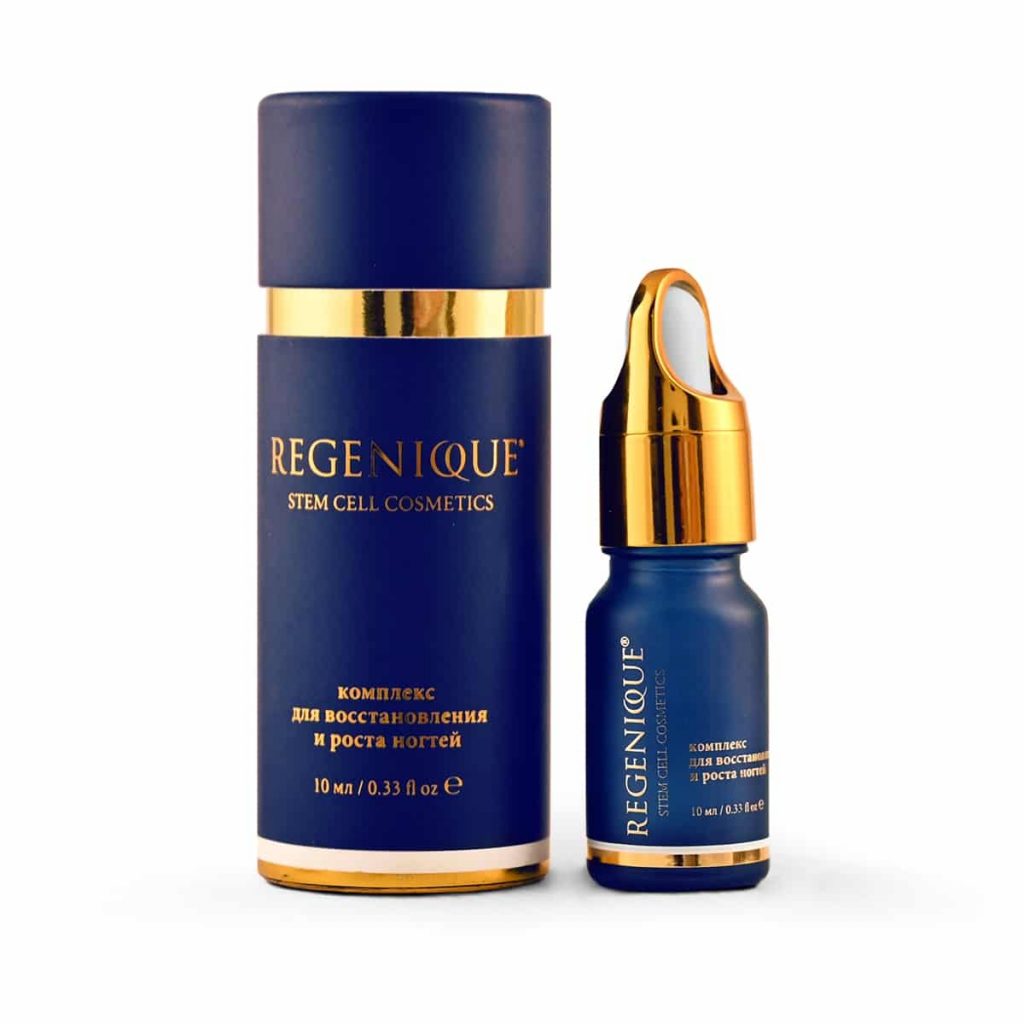
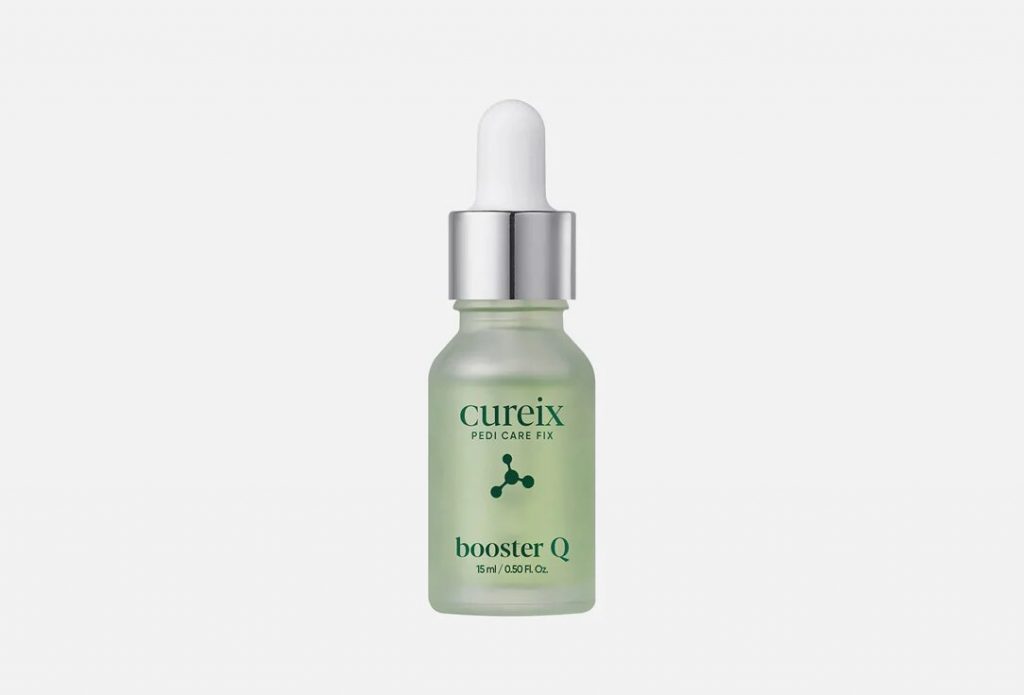
The final stage is skin care products. Apply cuticle oil or a lighter option, serum. This step should not be skipped as it is important for healthy and strong nails. The product helps retain moisture within the nail, making the skin elastic and well-groomed.
How to shape your nails yourself?
The simplest shape of the sawdust is of three types: soft square, transparent square and square oval.
Align the free edge of the nail with a file (moving from side to side) into a rectangular shape with two parallel sides and a flat end of the free edge. You can then move in the direction of your chosen shape.
– With a clear square, leave clear corners, but not sharp ones.
—When soft, it is slightly rounded but does not violate steepness.
—The square oval has clear parallel walls and a rounded part of its free edge.
—A more complex shape is the oval. It also has two straight edges, but the tip is rounded. To shape the tip, hold the file in your hand like a bow and move it along the free edge as if drawing an arc.
How often should you change tools?
When choosing a tool, it is important to buy it in a professional store, then it will last a long time – a year or more.
What should you not do with your nails yourself?
You cannot cut your cuticles yourself as you could injure yourself or cause an infection. When purchasing files, buy only soft abrasive ones to avoid damaging your nails and skin. Visit the manicurist once a month to ensure your hands are always well-groomed.
How do you keep your nails looking well-groomed after a manicure?
It is worth noting that the complexity of the manicure directly depends on the properties of the cuticle, so it is not always possible to do it at home with the same quality as a master does in a beauty salon. However, after a professional procedure, it is quite possible to learn how to care for your hands and maintain the condition of your nails. Polina Sukhocheva, senior master of the It-girls branch of ZilArt, talks about this.

Polina Sukhocheva, senior master of ZilArt’s It-girls branch
With the onset of the cold season, our skin, cuticles and nail plate need special attention. Low temperatures outside and the heating season in apartments dry our hands, and the lack of gloves makes itself felt almost immediately. Additionally, using household cleaning chemicals without protective gloves can also damage the skin. Hangnails, dry and brittle nails, and cracked skin are no surprise in this case. In no case should the burr be removed, it should be carefully cut and processed with a tool. This is the only correct option.
Doing a full manicure on your own is quite traumatic, because you have to treat the cuticle. This can lead to false nail growth, ingrown corners, infection, and the appearance of hangnails. As a manicurist, I recommend that you focus your attention on the care of the manicure, not the manicure itself. To do this, follow the tips below.
— Protect your hands and fingers from exposure to any chemicals or acidic cosmetic products.
— Add your favorite nourishing cream to your daily routine.
— Keep a file with you in your bag so you can use it if your skin starts to stick.
Determine for yourself the most comfortable and painless type of treatment from a manicurist, watch how the cuticle grows, add home care, regular visits to the specialist and healthy habits – then your nails will always be well-groomed and clean.
Source: People Talk
I’m Roger Gritton, and I’ve been writing for the The Fashion Vibes for over 5 years now. My specialty is beauty news; I’m passionate about covering the latest trends, products, and innovations in the industry. In my time there, I’ve become known as an authority on all things beauty-related.
I love discovering new experts to interview, researching up-and-coming ingredients and techniques that are making their way onto our beauty shelves and highlighting people who are making a difference in the world of cosmetics. My work has appeared not only on The Fashion Vibes, but also several other publications including the New York Times Magazine, Allure Magazine and Refinery29.


